
Eyebrows frame your whole face. A small change in shape can make your eyes look more open and your face look more balanced. But one extra pluck can also feel like a big mistake.
This guide to eyebrow shaping for beginners keeps everything safe and simple. You will learn how to find your natural shape, remove stray hairs, and fill in gaps gently.
Start With Your Natural Brow Shape
The best brows are usually your own, just a little tidier. Every face has a natural brow line, and it grows back slowly once removed. That is why a light touch works better than a full makeover.
Here is a golden rule for beginners: shape your brows; do not redesign them. So remove only the clearly stray hairs. Then leave the rest alone.
Gather the Right Tools
You do not need a big kit. These few items are enough:
- Slant tip tweezers for clean, precise plucking
- A spoolie brush to comb the hairs into place
- Small scissors to trim long hairs
- A brow pencil in a shade close to your hair color
- A mirror with bright, natural light
Good tweezers matter most. Cheap, blunt ones often slip, so they pull the skin.
Recommended: Slant Tip Eyebrow Tweezer
How to Map Your Brows in 3 Points
Mapping tells you where your brow should begin, arch, and end. You only need a pencil or a thin brush.
- Start point: Hold the pencil straight up beside your nostril. Where it meets your brow is where the brow should begin.
- Arch point: Angle the pencil from your nostril through the outer edge of your iris. Where it meets your brow marks the highest point of the arch.
- End point: Angle the pencil from your nostril to the outer corner of your eye. Where it meets your brow is where the brow should end.
Mark each point lightly with a pencil dot. After that, you can see which hairs sit outside your natural frame.
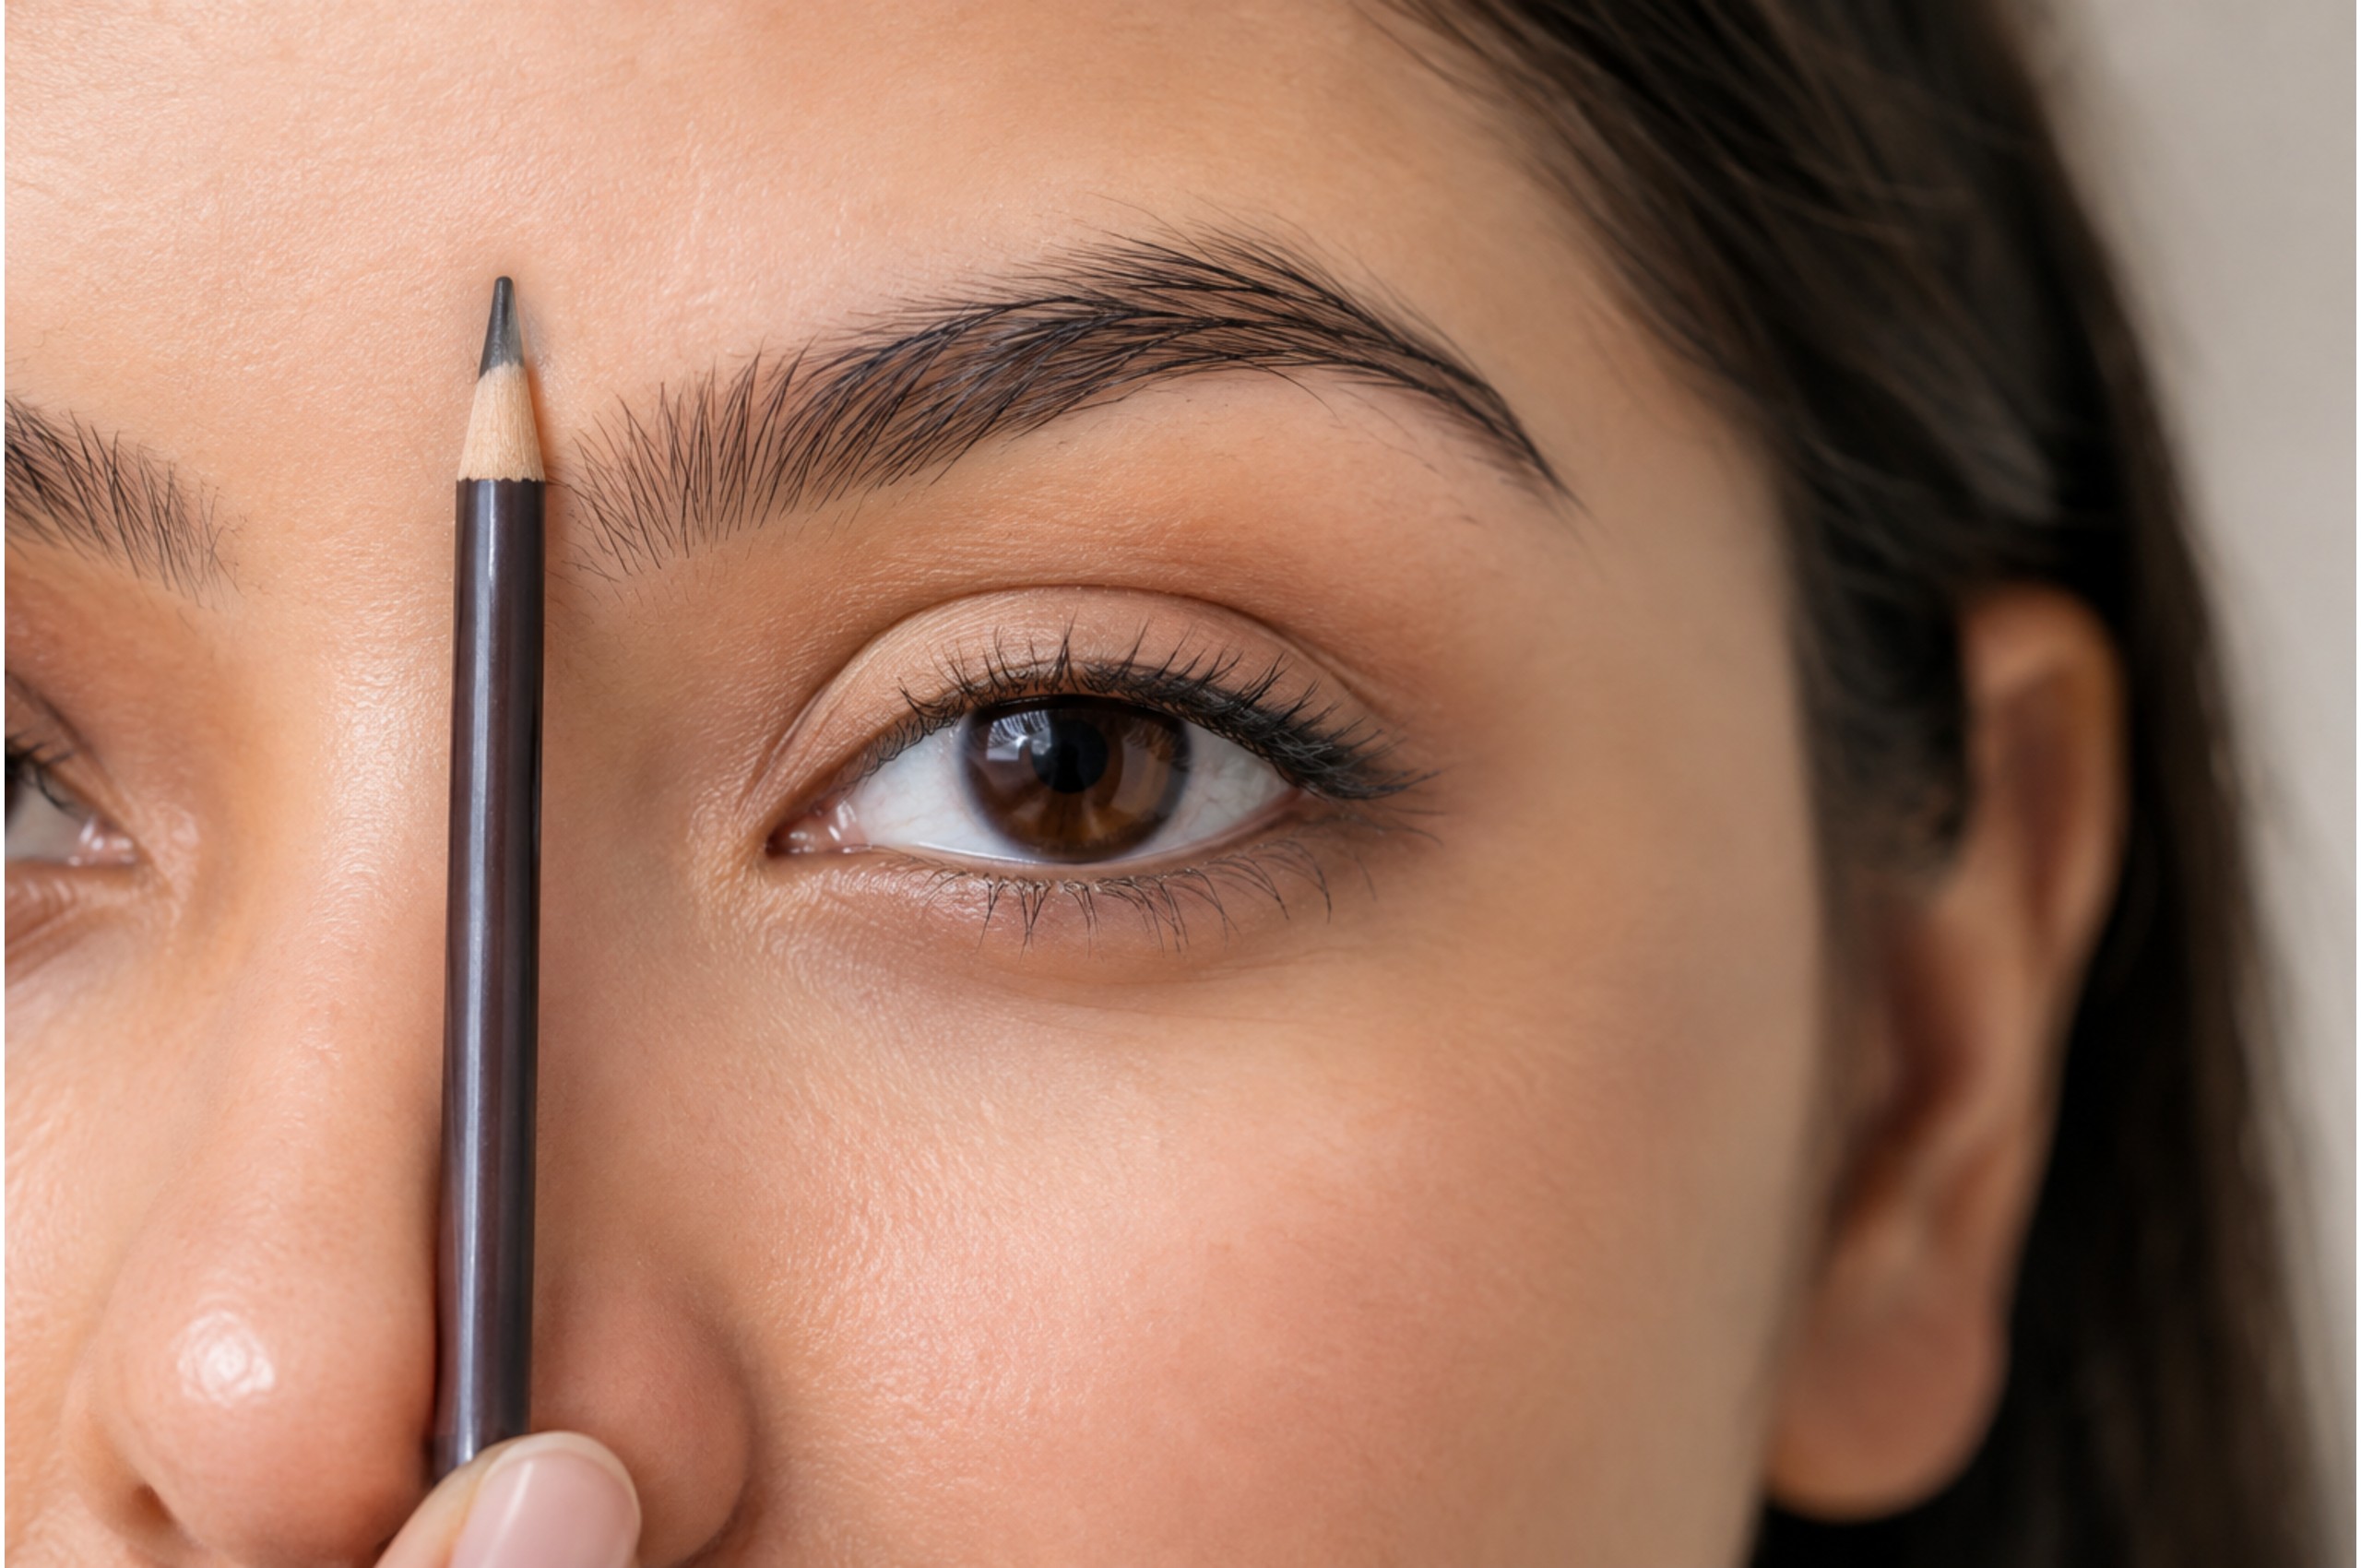
Eyebrow Shaping for Beginners: Step by Step
Take your time with each step. Rushing is the main cause of over-plucking.
Step 1: Brush your brows upward. Use the spoolie to lift every hair straight up. Then look for any long hairs sticking out past the top line.
Step 2: Trim only the long tips. Snip a tiny bit at a time, because trimmed hair cannot be glued back. Also, keep the scissors small and your hand steady.
Step 3: Clean and soften your skin. Wash your face first. A gentle, thorough cleanse, like our double cleansing method, leaves your skin clean and ready. A warm, damp cloth on the area for a minute also makes plucking easier.
Step 4: Pluck in the direction of growth. First, hold your skin tight with one hand. Then grab one hair at a time near the root and pull in the direction it grows. Instead of the top line, focus on the area below the brow and the space between your brows.
Step 5: Step back often. So look at your face from a short distance after every few hairs. Also, natural daylight shows the real result.
Step 6: Soothe your skin. Dab a little aloe vera gel or a light moisturizer on the area. After that, avoid makeup on that spot for a few hours.
How to Fill Your Brows Lightly
Filling is optional, but it makes sparse spots look even and gives your brows a clean finish.
First, start with a pencil one shade lighter than you think you need. Then use short, feathery strokes that copy the direction of your hair. Begin from the middle of the brow, where most people have gaps, and keep the front softer.
Finally, brush through with the spoolie. This blends the color and removes any hard lines.
Recommended: PAC Eyebrow Definer Palette
If you want a complete, easy face to go with your brows, try our guide to a natural everyday makeup look.
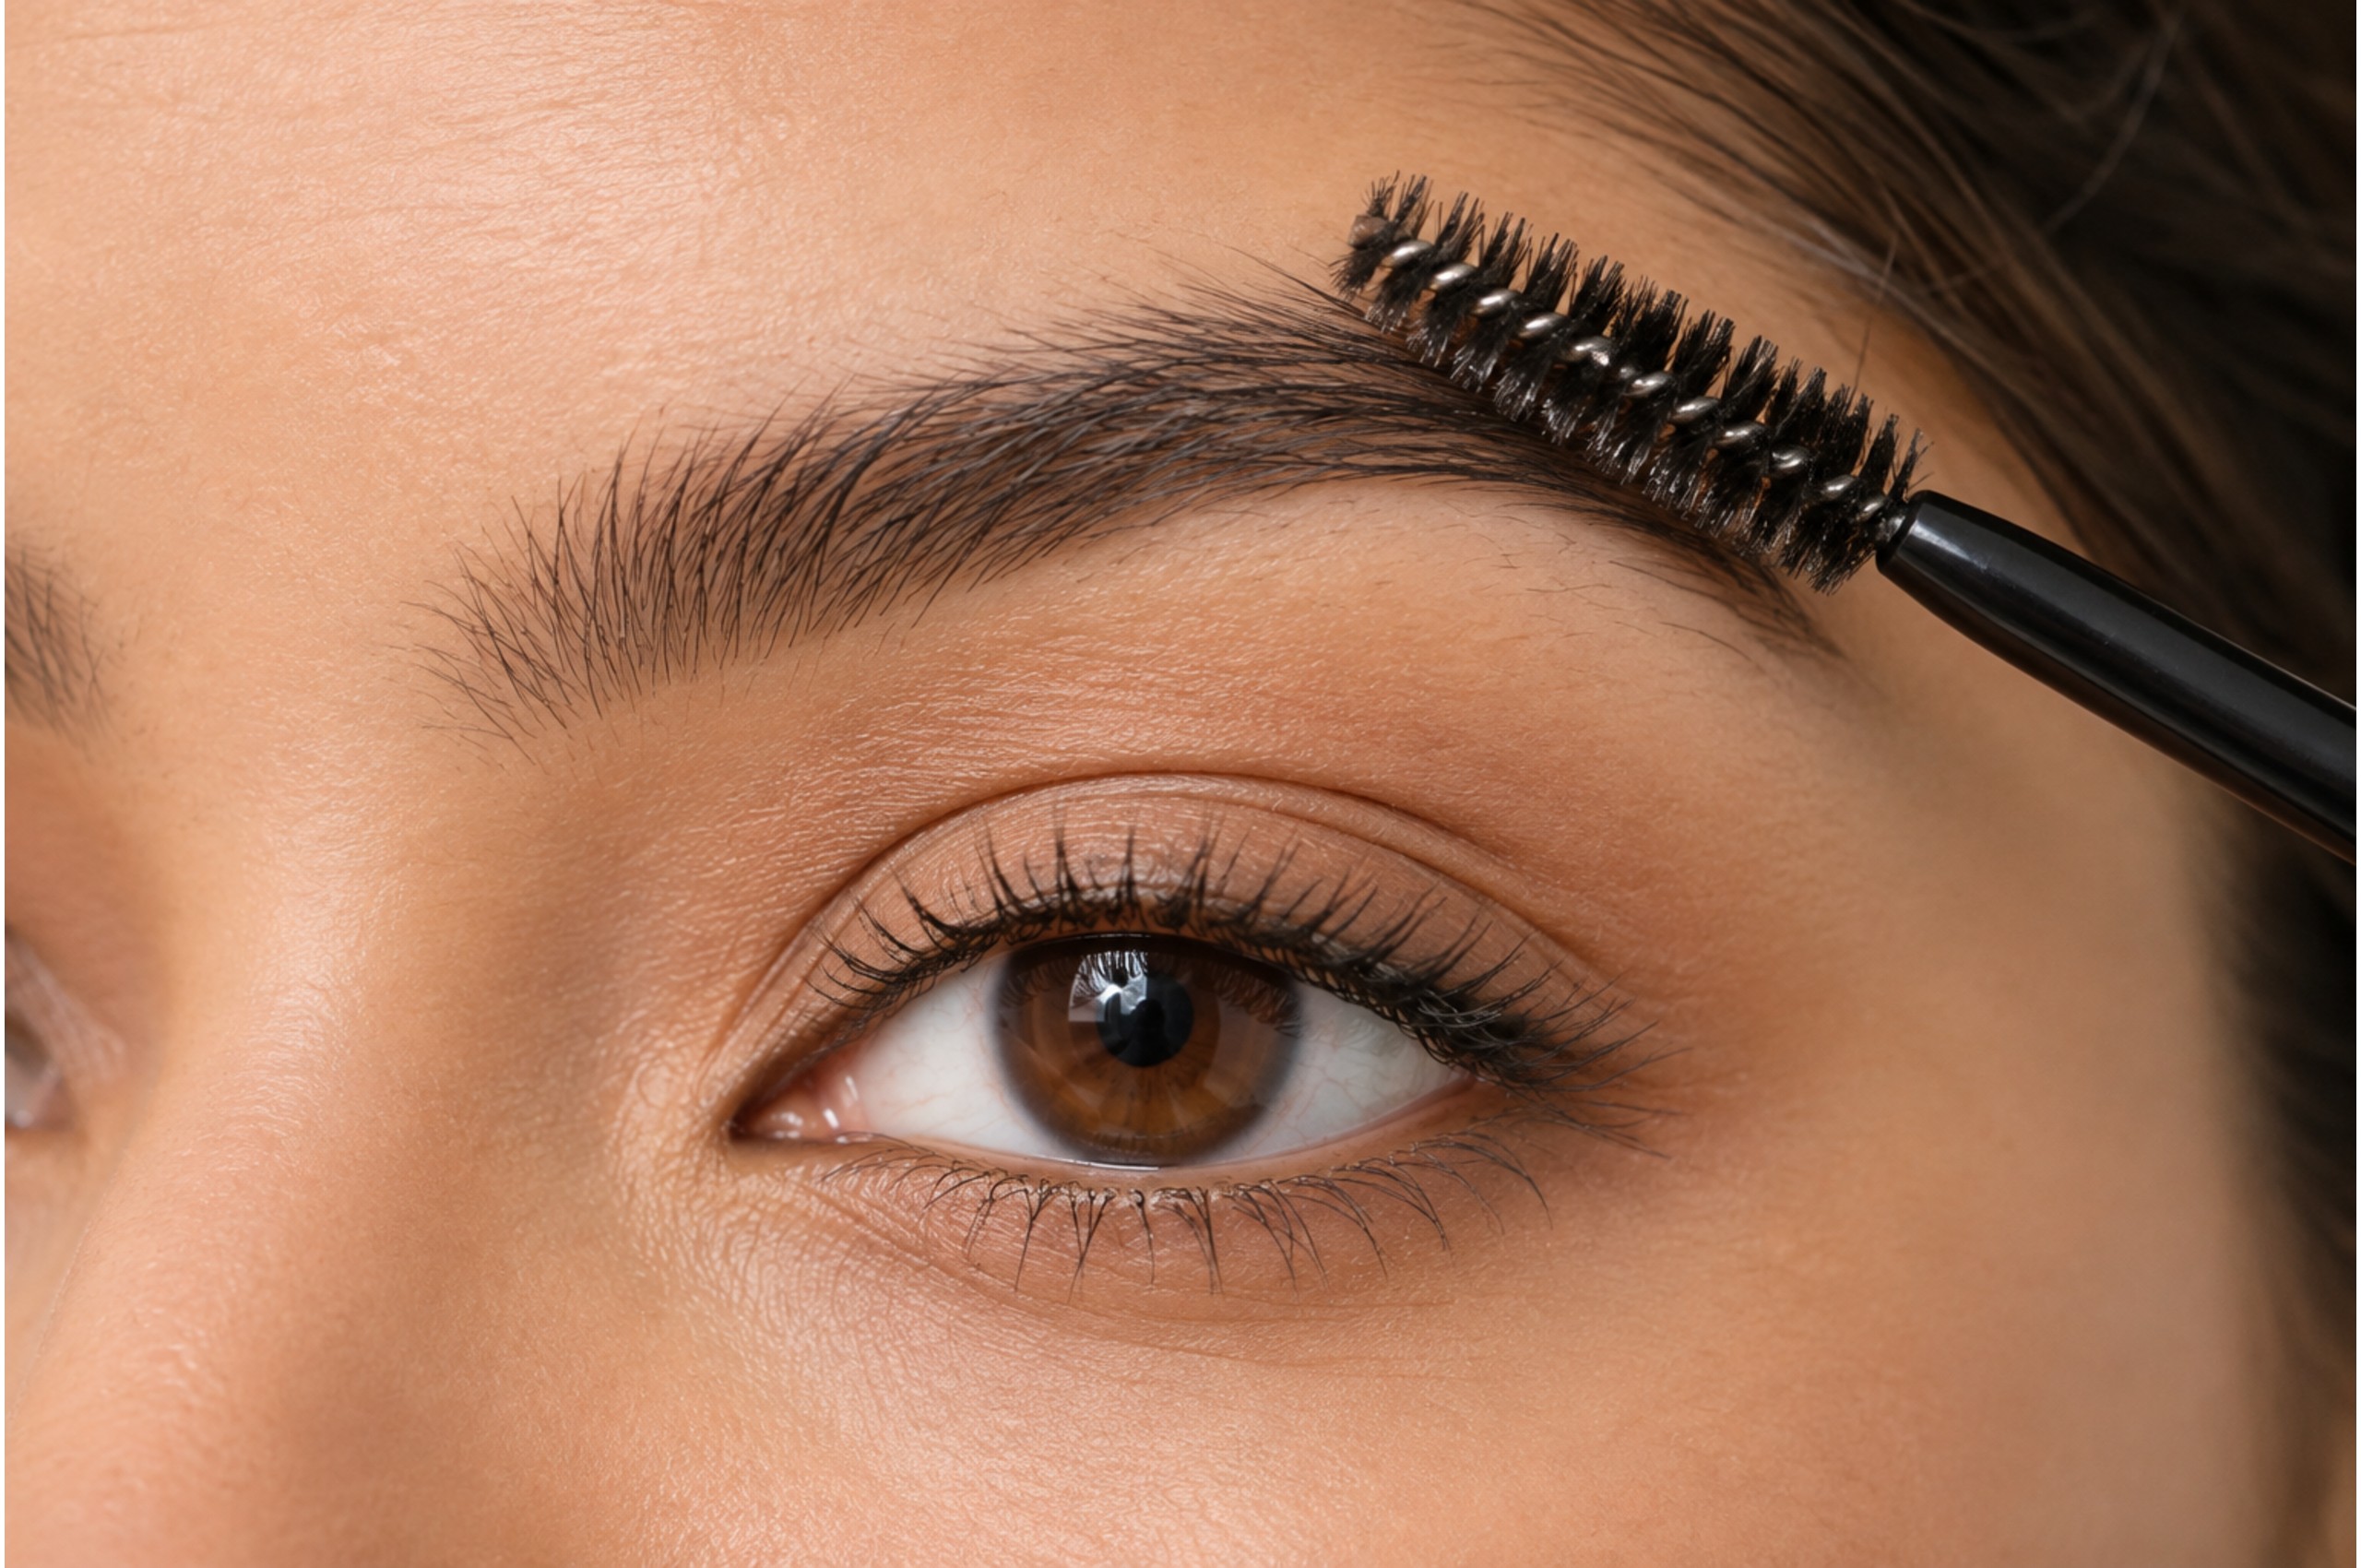
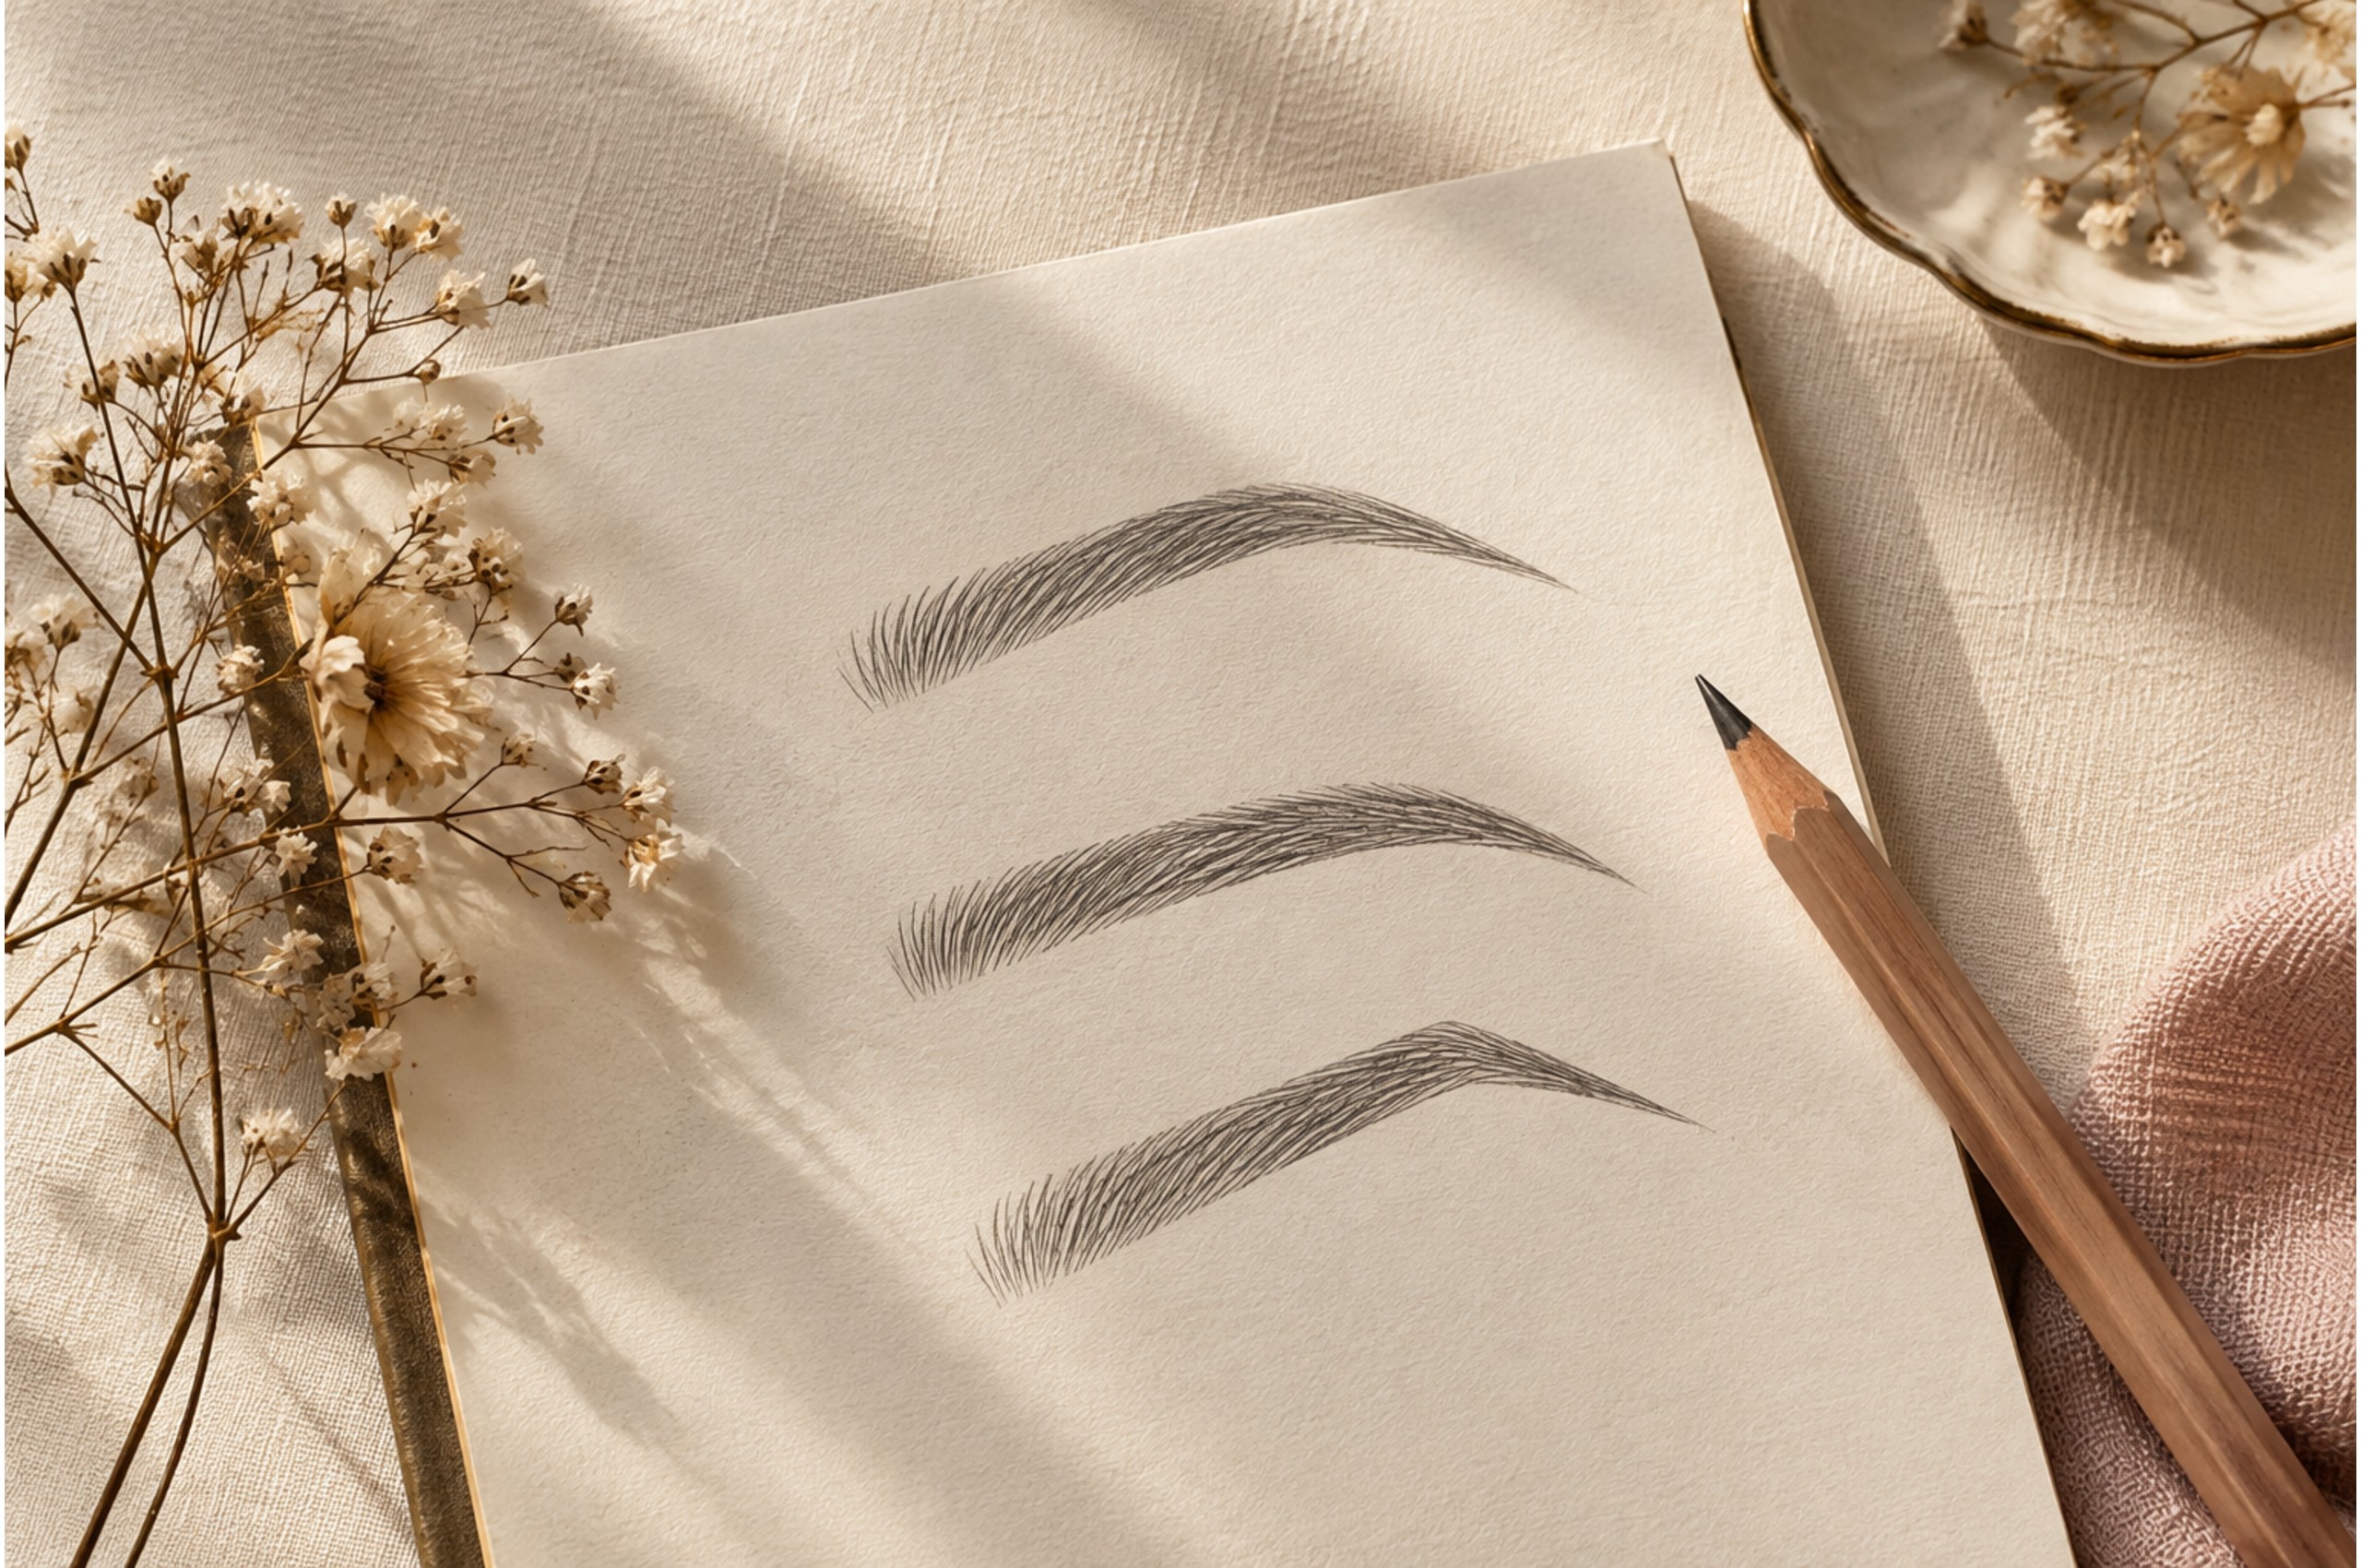
A Gentle Guide to Brow Shapes by Face Type
Face shapes are only a guide, not a strict rule. However, your natural brow line should always come first.
- Round face: A softly angled arch can add definition.
- Square face: A gently rounded arch softens strong angles.
- Long face: A flatter, straighter brow can make the face look more balanced.
- Heart-shaped face: A soft, rounded brow keeps things in harmony.
Common Eyebrow Mistakes Beginners Make
Most brow regrets come from a few habits. So watch out for these:
- Over-plucking, especially the thin tail of the brow
- Removing hairs from above the brow line
- Drawing a hard, dark, straight line instead of soft strokes
- Using a pencil shade much darker than your hair
- Shaping when your skin is red, sore, or breaking out
If you are nervous, get your first shape done at a trusted salon. After that, you can simply maintain it at home. Hairs removed by a professional give you a clear map to follow.
How Often Should You Shape Your Brows?
Most people need a light clean-up every two to three weeks. Brow hair grows at different speeds, so check yours in good light. If it still looks tidy, wait a little longer.
Between clean-ups, simply brush your brows up and set them with a spoolie. That alone makes them look neat. You can find more beginner-friendly looks in our makeup guides.
Frequently Asked Questions
Does plucking eyebrows make them grow back thicker?
No. Plucking does not change the thickness of the hair. But repeated over-plucking can damage the follicle, and then hair may grow back thinner or not at all.
Should I thread, wax, or tweeze my eyebrows?
All three can work. Tweezing gives the most control for beginners, since you remove one hair at a time. Threading is also precise but is usually done at a salon.
How long does it take for eyebrows to grow back?
Brow hair can take several weeks to grow back fully. That is why it is best to remove less, not more.
Can I shape my eyebrows if I have sensitive skin?
Yes, with extra care. First, use clean tweezers and work slowly. Afterward, soothe the area with aloe gel. Stop if your skin gets very red or sore.
Final Thoughts
Good brows do not need heavy work. Find your natural shape, remove only the stray hairs, and fill lightly where needed. Go slowly, check your progress often, and let your own brow line guide you. With a little practice, shaping your brows will feel quick and easy.